


Vacuum chambers are used to control the volume of a gas in the enclosure being evacuated.
This variation in volume can be used for a variety of applications.
One of these applications involves removing bubbles from liquid compounds that are intended to solidify over time. This is the case with resins and plasters.
In the case of resins, we often want to mould elements and we want the liquid we are going to mould to be bubble-free.
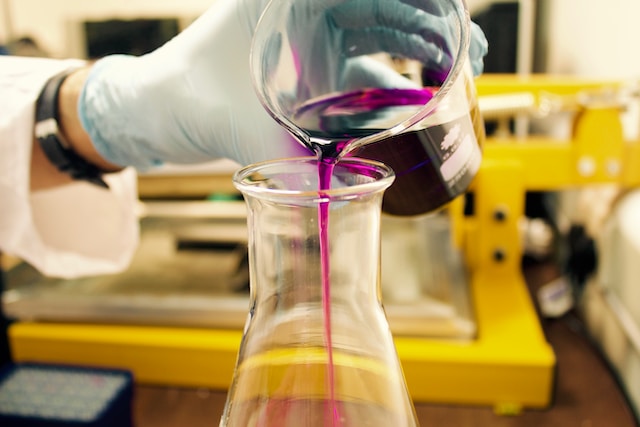
Under the effect of the vacuum, the volume of the air bubbles will increase and they will burst on the surface of the moulding. So, when the resin has solidified, the moulding will be free of any bubbles that can cause aesthetic problems, but also problems of strength.
We can work with significant pressure differences in relatively short times, because the principle of this degassing is that it must be carried out with the compound to be degassed in the liquid phase.
Once the liquid has solidified, the vacuum is of no further use.
You need to calculate the resin’s setting time carefully in order to carry out the vacuum quickly enough.
In the case of plasters, you need to be careful not to go too far with the vacuum level, as you could end up with a plaster that has bubbled instead of debubbling…
Under the effect of the vacuum, the water contained in the plaster is subjected to a vacuum and the air dissolved in the water will tend to return to a gaseous form…
The vacuum level and the time taken to draw the vacuum are important.
In the photo below, you can see 4 casts that have been subjected to 4 different vacuum levels, the vacuum holding time being the same.
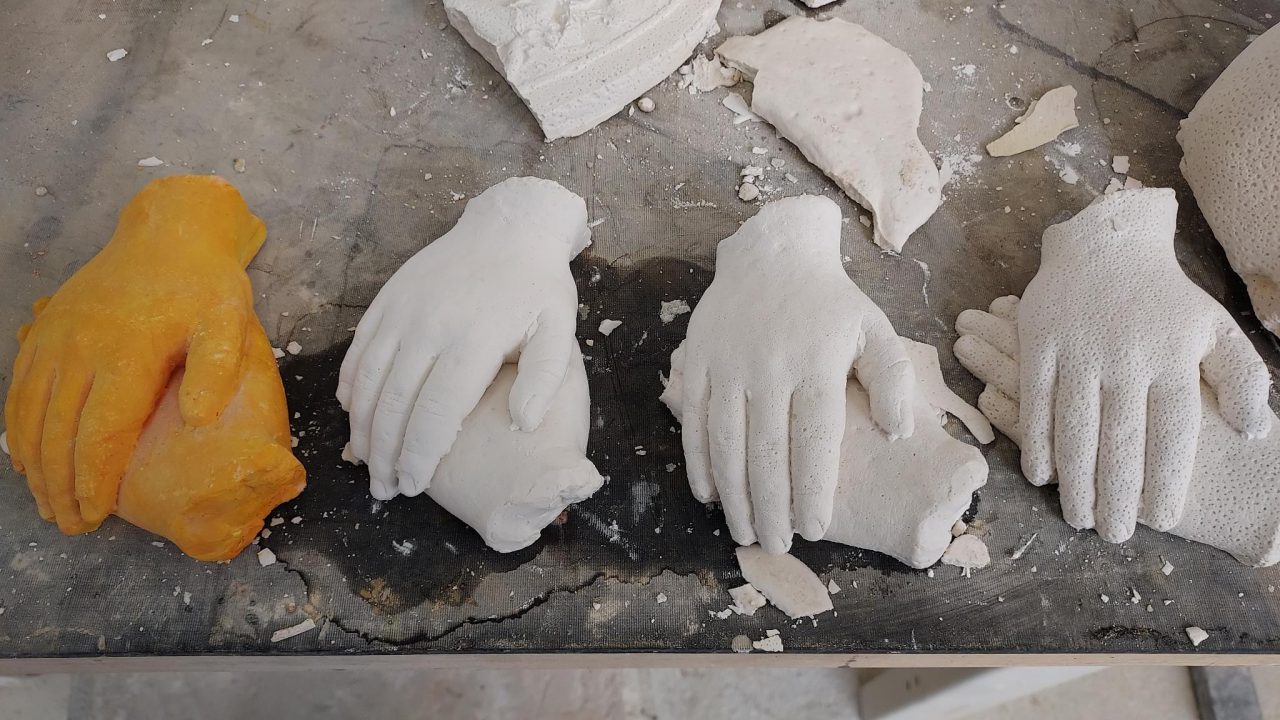
We can see that from -400 mbar the result is not as good as without vacuum in this particular case. Depending on the water content of the plaster, the vacuum levels will be different and the vacuum maintenance time will also have to be adapted.